How to Convert Your Campervan Into a Mobile Darkroom for Photographing the Milky Way Over Lake Tekapo
How to Convert Your Campervan Into a Mobile Darkroom for Photographing the Milky Way Over Lake Tekapo
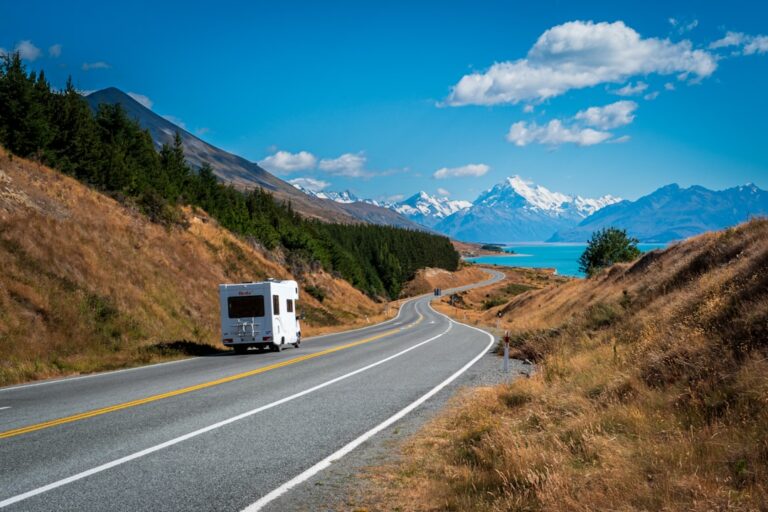
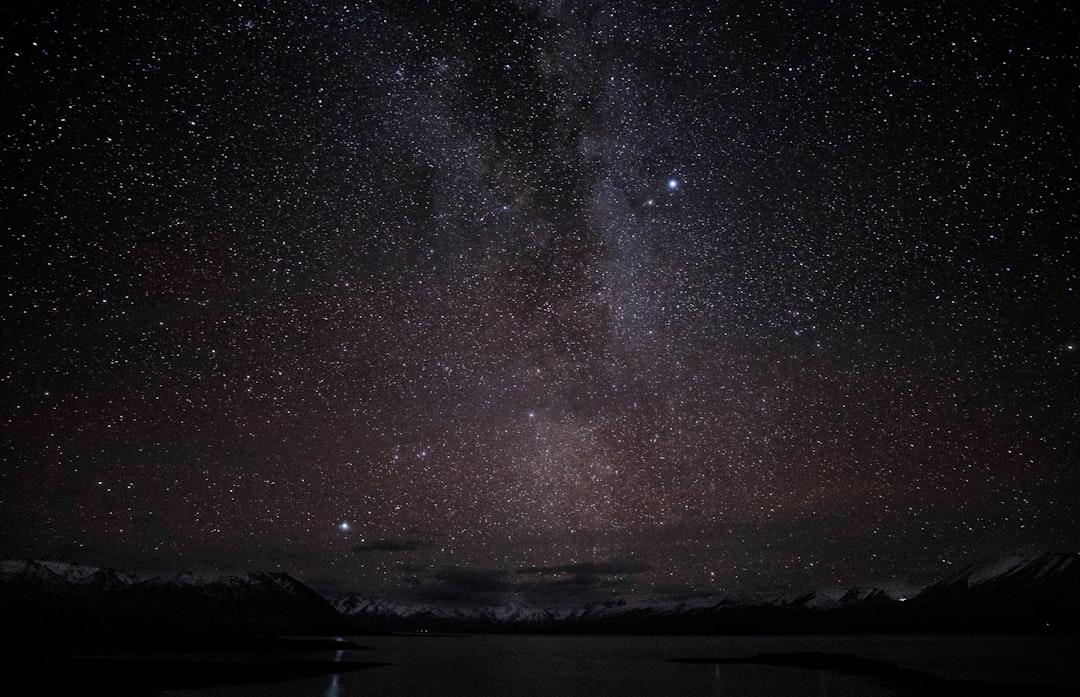
You’ve seen the postcard shots: the impossibly dark sky, the shimmering arc of the Milky Way reflected in the turquoise waters of Lake Tekapo, the iconic Church of the Good Shepherd standing sentinel under a canopy of stars. It’s a photographer’s dream, but what most people don’t tell you is that the real challenge isn’t finding the composition—it’s processing images on the road. Hours from any reliable Wi-Fi or a proper desk, and the light pollution-free conditions traveled for are exactly what make it impossible to edit inside a van without ruining night vision and final files. Converting a campervan into a mobile darkroom becomes not just a clever hack, but the difference between coming home with raw files that frustrate and walking away with gallery-quality prints.
Where the Dinette and the Rear Cargo Differ
The first critical decision is where in the campervan the darkroom will live. Two realistic options exist: the dinette area or the rear cargo space. The dinette—typically the fold-down table between bench seats—offers a flat, stable surface already at a comfortable seated height for a laptop or tablet. During the day it serves as a planning desk; at sunset it transitions directly into a processing station. The downside: every window must be blocked completely, and the table’s proximity to the galley means being always a few inches from the glow of the fridge or the stove’s pilot light.
The rear cargo area, if the van has one, provides a deeper, often larger workspace where a dedicated folding table or lightweight desk can stay in place throughout the trip. Storage space gets sacrificed, but the ability to seal off the entire rear section with blackout curtains—no light leaks from the cab—is a serious advantage. For photographers shooting the Milky Way over Lake Tekapo, typically out from around 11 p.m. to 3 a.m., a fully sealed darkroom that doesn’t require dismantling the bed every night saves serious time. Whichever option is chosen, measure the exact dimensions of the workspace before leaving home, and bring a small cutting mat or self-healing board that fits precisely—a clean, flat surface for the laptop and tablet is non-negotiable.
Blackout Fabric and Electrical Tape on the Seams
A mobile darkroom is only as good as its light seals, and after a night of shooting the Milky Way, eyes become painfully sensitive to any stray glow. Standard campervan curtains or blinds won’t work—they are designed for privacy, not for total blackout. The approach should be layered. First, cut blackout fabric to fit each window in the chosen workspace, using adhesive Velcro strips to attach it directly to the window frame. This fabric is thick, opaque, and specifically designed to block all light. The cheap polyester versions from craft stores let through a surprising amount of light at the edges.
Second, add a secondary layer of heavy-duty black plastic sheeting—the kind used for greenhouse shading or film photography darkroom work—over the fabric. This creates a physical barrier that also absorbs any ambient light bouncing around the van’s interior. Pay special attention to the edges around the door seals, the roof vent, and any gaps between the cab and the living area. A common oversight: the small crack beneath the van’s sliding door, or the thin strip of light that comes through the seam where the roof meets the wall. Black electrical tape seals these gaps temporarily during editing sessions. The payoff is immediate: the screen’s color space becomes visible without the eyes adjusting to competing light, and edits become far more accurate.
500Wh Power Station, Brightness at 50 Percent
A laptop, perhaps a tablet, and possibly external hard drives or a portable monitor will be running while the van’s house battery also powers the fridge, lights, and water pump. After a full night of shooting—say, 200 or more raw files—enough juice is needed to process those images without the laptop dying halfway through a crucial gradient adjustment on the Milky Way’s core. Most rental campervans come with a single 100Ah lead-acid battery, barely enough for a few hours of laptop use after sunset. The solution is to plan a power budget before arriving at Lake Tekapo.
A high-capacity power station—something like a Jackery or EcoFlow with at least 500Wh of capacity—dedicated solely to electronics solves the problem. Charge it fully during the day using the van’s solar panel or while driving. When the sun goes down, the laptop and external monitor run from this unit without draining the van’s house battery. If the van lacks solar, or is parked in a shaded spot near the lake, a small folding solar panel set out during the day keeps the power station topped off. A practical trick: keep the laptop’s brightness set to 50 percent and disable any background processes (like automatic cloud syncing or software updates) while editing. This single change can extend runtime by over an hour, providing the freedom to work through an entire night’s shoot without rushing.
SpyderX in the Glovebox
Editing astrophotography on an uncalibrated laptop screen, under the dim conditions of a campervan, will produce images that look great in the van but awful on any other screen. The deep blues and purples of the Milky Way over Lake Tekapo are particularly tricky because they sit right on the edge of a display’s gamut. Without a calibrated screen, the saturation gets pushed too far, turning stars into cartoonish blobs, or the sky gets underexposed, losing the subtle gradient of the galactic core.
Before leaving home, calibrate the laptop’s display using a hardware calibrator such as a SpyderX or X-Rite i1Display. Then bring it along. It’s one more device, but it’s small and allows recalibration after a few days on the road, especially after temperature or humidity changes that can shift a display’s color profile. In the van, set the editing environment’s ambient light to a consistent, low-level warmth—a red headlamp or a dimmable LED strip set to a warm white (around 3000K) works. Overhead lights are too bright and too blue, and trick the eyes into thinking the screen is less vivid than it really is. With a calibrated screen and a consistent viewing environment, Milky Way edits hold their color whether viewed on a phone, a tablet, or a professional monitor back home.
Stack at f/2.8, ISO 3200, Then Make Tea
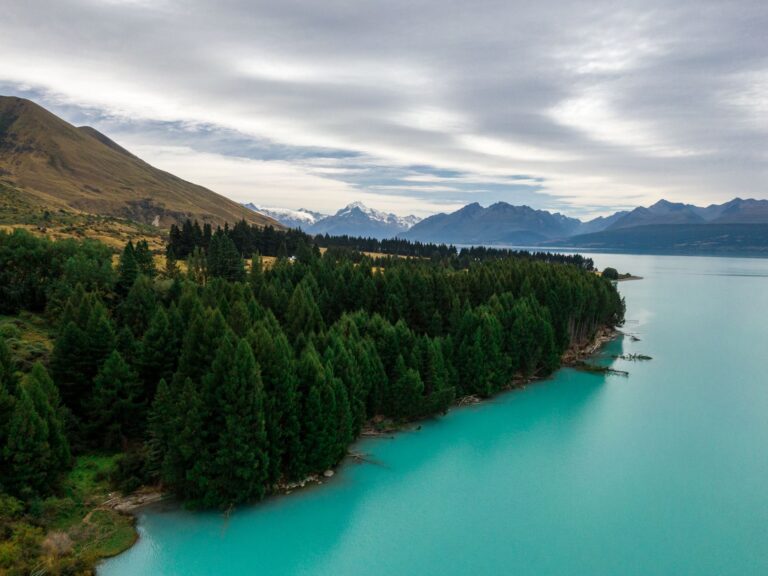
Arrive at Lake Tekapo’s Dark Sky Reserve before sunset, and use the last hour of daylight to set up composition on the lake’s edge, near the Church of the Good Shepherd or along the walking track that follows the shoreline. Scout the foreground—the church, the lupins when they’re in season, or the rocky beach—and lock in the tripod position. As the sky darkens, shoot a series of exposures, typically 15 to 20 seconds at f/2.8 or wider, ISO 3200 to 6400, depending on the camera. At least 15 to 20 frames are needed for a decent stack to reduce noise later.
Back in the van, head straight to the darkroom. Close the blackout curtains, seal the edges, and power up the laptop and calibrated monitor. Import the files, and immediately make a backup to an external SSD. Then start the stacking process using software like Sequator or Starry Landscape Stacker. This single step—stacking multiple exposures—separates a muddy, noisy image from a clean, sharp Milky Way shot. Let the stacking run while making a cup of tea; it takes about ten minutes depending on the laptop’s processor. Once the stacked file is ready, open it in editing software. Adjust the white balance first—Tekapo’s sky typically registers a cool blue-white, but pulling a touch of warmth into the stars avoids a clinical look. Then curve adjustments to bring out the dust lanes, and selective dodging and burning on the galactic core. The calibrated screen ensures every tweak is accurate. The result: a finished file ready to export, share, or print, all processed in the quiet of the mobile darkroom.
Red LED, Ergonomic Stand, Warm Fleece
Sitting in that dinette or rear workspace for a couple of hours at a time, usually in the middle of the night when tired from shooting, demands an editing station as comfortable as it is functional. A small, ergonomic laptop stand elevates the screen to eye level—this prevents neck strain and improves the viewing angle. A compact Bluetooth keyboard and mouse free up hands and allow sitting back rather than hunching over the laptop. The table surface should be clear of clutter—dishes, books, and camping gear removed before starting. A single desk lamp with a dimmable red LED lets the keyboard and notes be seen without ruining dark adaptation; red light does not affect night vision the way blue or white light does, so moving between the workspace and the van’s door for a break or a quick check on the sky doesn’t reset the eyes.
A final detail: the temperature inside a campervan drops significantly after midnight, especially near Lake Tekapo, where the Southern Alps funnel cold air down the valley. A warm fleece and a hot water bottle or a heated blanket help if the van’s heater is limited. Cold concentration slips, and edits suffer. Treat the darkroom session as part of the overall experience—a quiet, focused period of creation as rewarding as the time spent under the stars. When that final, clean image of the Milky Way arching over the lake is exported, every choice—from the blackout fabric to the power station to the calibrated screen—proves its worth.
You will arrive at Lake Tekapo with the same camera and lens as everyone else, but you’ll leave with something most travelers never achieve: the ability to process your best work right there, at the source, under the sky that inspired it. Your campervan becomes more than a vehicle; it’s your personal, portable studio, and the Milky Way is your subject. Plan your darkroom setup with the same care you give to your camera settings, and you’ll come home with images of the Milky Way that do justice to the real thing.

📷 Photos: Will Li (Unsplash), JinHui CHEN (Unsplash)